Le Mecanicien

Each of us remembers how they became a Velominatus. For me, it was at Grimpeur Wielersport, in Zevenaar, The Netherlands. Its the perfect place: a small shop, on a small street, in a small town, in a small country, run by a Giant of the Sport, Herman van Meegen. I haven’t been back in years, not since my mentor and original owner was forced to retire due to a nagging back injury.
Despite it’s diminutive appearance, inside this small shop existed a world vast beyond my wildest imagination. The owner spoke with the soft ‘G’ – typical of the Dutch dialect in the region. Former head mechanic at Helvetia – La Suisse, and later for Team 7-Eleven, he had previously wielded a wrench at the world’s major events including Le Tour before opening this shop. He knew everyone. Pros strolled into his shop on a regular basis. Imagine the awe of a thirteen-year-old Velominatus Novus as Erik Breukink wandered into the shop and dallied about for a bit.
But it was the tales and experience from many years on the Pro circuit that made those visits to special to me. He explained in detail the way Steve Bauer preferred to ride a smaller frame than his contemporaries or how Pascal Richard liked the tension of the spokes “just so” as he laced a set of wheels for my dad. He showed me how he filed out the holes in the hub flange to cradle the spokes better and reduce the chance of breaking one. He built wheels on a truing stand he built himself and to which he affixed a micrometer. He told me that a perfectly true wheel will never go out of true, not even on the cobbles. “Maar het moet werkelijk perfect zijn.” But it has to be absolutely perfect. Sounds like something you need a custom truing stand and micrometer for. (That bike is now something like 20 years old, and has never seen a spoke wrench; the wheels are still perfectly true.)
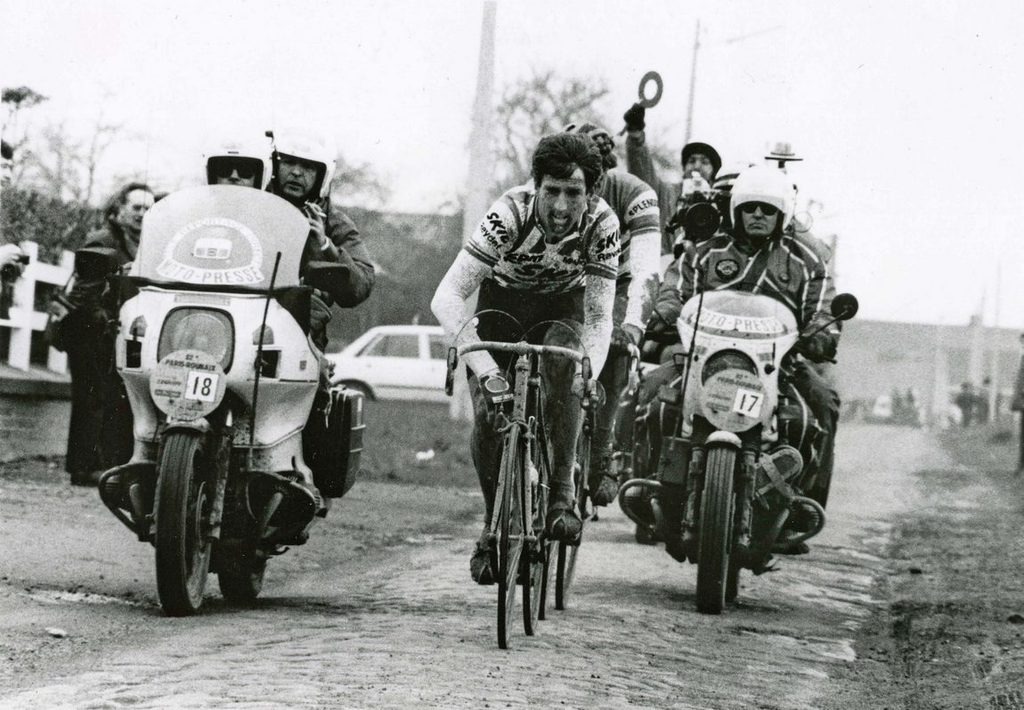
He was personal friends with Eddy Merckx and picked up a frame my dad had ordered after dinner with The Man at the factory in Belgium. A prototype Campagnolo saddle with titanium rails and air bladder that never made it to production somehow found its way atop my dad’s seat post. I can’t imagine how his insides churned as my dad insisted on having a set of Scott Drop-Ins installed on that bike. He never uttered a word about it, opting instead to teach me how to seamlessly splice two rolls of bar tape together to accommodate the long bars – a skill he picked up wrapping the bars of riders who wanted double-wrapped bars on the tops but not the drops at Paris-Roubaix. He taught me to cut my cables short and solder them before cutting for the perfect, sleek finishing touch. He taught me how to “feel” a bolt to get it just the right amount of tight – where it holds but the soft aluminum doesn’t strip. He taught me to trim soda cans and tuck them in between the bars and stem of a handlebar that persistently slips. But most importantly, he showed me the intricate beauty of our machines.
He also stocked a backpack called the “Body Bag” which I always felt could have used a more sensible name and whose marketers perhaps missed a nuance in the language.
Apart from his poor choice in backpacks, this was a man who understood the finer things about bicycles, and I’m grateful he took the time to teach me even a tiny little bit of what he knew.
So, I leave you today with this question: if you could ask a pro bike mechanic – perhaps even one on the ProTour circuit – one, single question, what would it be?


@MrBigCog
I wrap the bars tightly with fizik tape and have never had the tape unwind. I think that really the problem is friction and if you don’t tape tightly enough, it will come loose – your hand twists more or less perpendicularly on the bars and the tape is diagonal; if you twist the tape, part will get stretched, part will get pulled and it’s this process that loosens it. It just might come loose sooner if you wrap one way verses the other.
With Fizik, you can pull it tight enough so it’s smooth and flat, and that – and this is the important bit – the sticky bit is always in touch with the bars – not the previous loop of tape. If you do this with cork or other padded tapes, you’ll end up with a lumpy tape job; if you wrap it nice and smoothly, it won’t be tight enough and will be partially taped on the previous loop of tape and I think that’s the problem.
Disclaimer: I’ve never tried doing it drinking cold coffee (beer, yes) and never just prior to the start of a stage.
@Blah
What tape are you using? I use fizik’s microtex white tape and it stays white for its lifetime. Amazing stuff.
@Josh
For me the bars need to be wrapped identically on both sides. I obsess over small differences endlessly while riding. Very distracting.
I recently bought a new bike and just had to re-wrap the bars as they were just all wrong: stuffed in with the end caps, figure-8ed, then very sloppily electrical taped. First time I’ve used Fizik and I was surprised how stout and un-stretchy it was. I’m not at all satisfied with the job I did as the tape was pre-stretched all wrong at that point, but I’m sure they pass most people’s standards. I just wrapped the rain bike in the cheapest black tape I could find that didn’t smell like a plastic factory.
@mouse
Grats!
@frank
Okay, sweet. Thanks for the heads up. Gotta change whatever it is that’s stock. Just looks manky.
@michael
Re figure 8ing the tape around the lever bodies.
What @Oli said.
Just use a short length of tape to cover the back of the clamp, then wrap the tape from the bottom up and around the lever body. Figure 8ing just adds bulk to where you don’t neccessarily want it, wastes valuable length in the tape where you can’t get the wrap overlap nice and tight, and creates a tear in the space time continuum to get the helix shape you’ve just created to run in the proper direction required on top.
@mouse
A+1
@mouse
Also, the last pack of Fizik Microtex tape I purchased came with two small strips in addition to the tape for the handlebars, for just such a purpose.
I can’t re-8 it, I cut it short already.
This might in fact not be orthodox, but this is the way I wrap my bars; always the same, so it wraps in opposite directions from the bottom in clockwise on the right and counter-clockwise on the left, so they wrap in towards each other. My OCD nature will accept nothing less.
That’s perfectly fine with adhesive backed tape, but would probably unwind over time with the non-sticky stuff. It looks good anyway, and that’s all that matters, right?
@Oli
Whew. That was close. When I read the first half of your post, I thought you were agreeing with me, which, quite honestly, scared the piss out of me. Then I finished reading, and we’re back to normal.
I can’t think of a single time that I’ve had a bike not wrapped like this, although I’ve never thought about wrapping it this way until I was taping up the Soloist after having this discussion last week and I wanted to pay attention. That’s when I noticed I was doing it, and went and looked at all the bikes in the house and rambled through some old pictures of previous bikes. All the evidence I could find have the bars wrapped like this. Even the bar tape on the handlebar ends on both mountain bikes is wrapped like this. Always towards each other. OCD (which I’ve been diagnosed with but take no medication for) really is a funny thing.
The tape should be wrapped in the direction that you would twist the throttle to accelerate. I.e the bottom right of the bar should be CCW, the bottom left should be CW. That way you are always “tightening” the tape as you grip the bars. And as @mouse says – “No figure 8ing”.
@frank
Bar tape on the mtb Frank? Dare I ask what byjesus are you calling a mtb? All two of em! I don’t recall my mid 80’s Gary Fisher Hookooekoo rolling bartape.
At least you have a proper set of downhill skis.
@frank
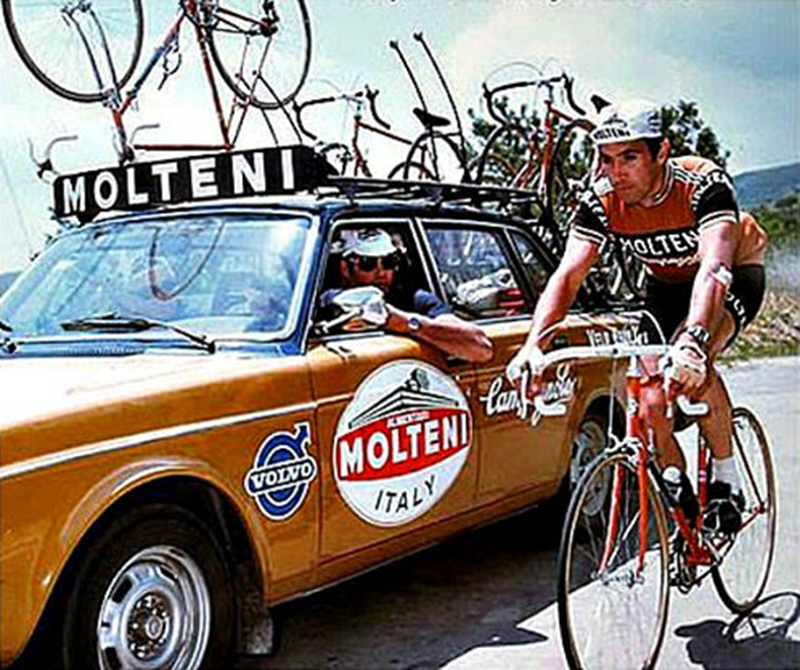
It’s not a big deal, and I think it’s one of those “rules” that is interpreted differently by different mechanics – Mapei used to have a mechanic who taped the entire ‘bars in the same direction from right to left and it didn’t seem to stop Museeuw from winning the occasional race!
@frank
BTW, even if you wrap it the correct way (i.e. my way) they wrap towards each other wtf.
@Oli
Hey @Oli, I’m curious to see what the alternative taping arrangement that you refer to looks like. From what I can see, Frank has it right, and it’s primarily down to that where the bends happen, the tape is laid over from top to bottom so that the force of your hands over the first curve from the horizontal to where the levers attach(if you were to slide them down the bars moving from the stem outward and downward) push the trailing edge of the tape on top into the one beneath – sort of like smoothing it out.
If I’m visualising the alternative properly, it would suggest that the force of your hands moving in the same direction descibed before would catch the leading edge of the tape on top, and roll it backward.
Got any pictures to describe what you mean?
We might be all in furious agreement, just seeing it differently.
@mouse
The “alternative” still means the tape overlaps in the way you mean (I think?) when done “correctly”. The potential issue I gather you’re talking about would be what happens when you start at the top, and that just ain’t right no how, no way.
@Oli
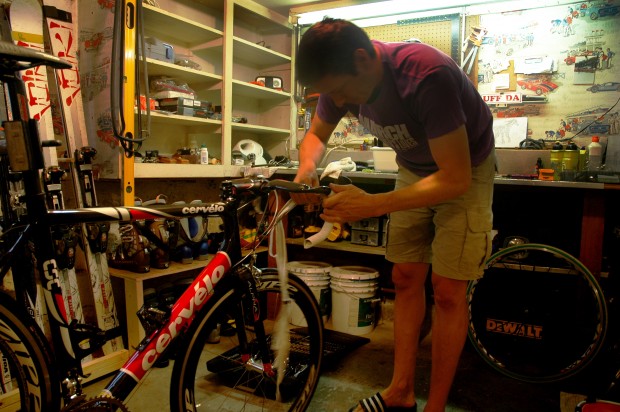
Just got off a plane in Baton Rouge, Louisiana. Now, that’s worth a WTF. But, to your point, what I mean is that the leading edge (specifically, the tape along the front edge of the bars) has to – absolutely has to – point at the leading edge of the other bars. And they have to be at exactly the same angle on both sides of the bars. And they have to have exactly the same amount of spread between wraps. And the finishing tape has to be Stracked the way it is in my photo, though the color of the under layer can be whatever you decide works best.
That style harkens back to the 7-Eleven days, and I saw a mechanic at Slipstream do it the way I’m doing it these days (which is where I copied the trick from, I have no original ideas).
The wrap on your bars at the bottom shot, while impecable in every way, makes my skin crawl because the wraps point away from each other on the leading edge. Seriously. It makes me physically uncomfortable looking at it. I’m not well.
I have to say, though, aside from the wrong direction bit, that you’ve done a great job, even with that spongy Deda wrap, which I can’t stand. Most people wrap it too tight and it gets lumpy, even Pros, which I suppose you are. Nice work.
@mouse, @Oli
Like the Hammie Quad Debate of WheneverTheFuck (sorry I can’t be more precise with the timing), I think it really depends on style. I think tape without backing will come loose period, because the tape’s coefficient of friction is not in alignment with the twisting of your grip no matter how you wrap it. You’re either loosening the front or the back, and it just comes down to which of those sides is more important relevant to the taping direction and the direction you spaz your hands, and whether you change the tape before you notice it’s loose.
That said, depending on if you twist more with the inside of your hands or the outside, I think your taping should go the oposite direction. In the drops, that’s probably the same for everyone with any class, because we all angle our wrists inwards because that’s what looks cool. On the tops, climbing, we’re all more likely to be showing our poor form and twisting whatever our body naturally twists in. Which, for me, is random and at the mercy of whatever will make the pain less.
I learned to tape bars in the era of Benotto Cello-Tape – take it from me, if you wound it the wrong way it would unwind. Lennard Zinn does it your way, so even though you are wrong at least you’re in good company.
As I have said, these days it really doesn’t matter – as long as it’s done well it will be fine.
@Oli
@frank
Ah. Interestingly, I find myself agreeing with @Oli on this one.
I always tape starting from the bottom and start wrapping towards the frame both sides.
Ditto on the Benotto tape.
Thanks for the clarification.
I always liked you, Mouse.
I was perfectly happy with my recent Fizik re-wrap on No.2 until someone put the paddles to this thread.
That said, I hate the damn electricians tape that goes around the top. I’ve been investigating shaving the last loop (for smoothness) and supergluing it under the bars. Happy days so far.
@Frank – Abita Restoration, Abita Jockamo IPA – when in Louisiana, accept no substitute.
@Joe
Operation Find Ale underway. Many thanks!
@Joe
@frank
Yup. I heard Abita is the cats cock.
Just checked – my tape goes Oli-shins not Frank-wise on all three bikes currently residing with me.
Don’t know that I’ve ever thought about it, in the sense of considering another way. I just copied it in some distant past and stuck with it.
Any mechanic worth a dime would wrap the handlebar tape inwards on both sides starting from the bottom.Right side CCWise and left side CWise so plus one what Oli said.You learned the proper way and it’s always been like this.Then you do figure 8 around the lever bodies.Different levers require different technique and a little piece of tape that comes in a box is best used to make the top of the lever bodies flush with a handlebars as they come in contact with the bars.That goes especially for older shimano shifters like dura ace 7800 and earlier.After you’ve done figure 8 you should wrap the tape on top of the bars downwards and towards the rider as your wrists normally pull downwards while riding hence you will always tighten the bartape.Many pro team mechanics do it whatever way cause they don’t give a shit.They have tons of rolls of bartape and it never stays longer than a week on a pro bike so unless you’re sponsored or you don’t care how long yours will last learn to do it right not too loose and not too tight.Many in box complete factory bikes also have the bartape wrapped wrong so don’t unwind it to learn cause it’s probably wrong.Also if your bartape is not long enough to finish including figure 8 it’s time to get a different brand.
@Oli
Nhurhurhur… that tape makes me all squiffy. Could use that drop as a bloody ruler.
FWIW outside in from the drops, single cross behind the lever, tape towards the rider across the tops. Sounds easy but I have the knack of lumpy tape, bare patches and never having my levers in the right place before I start which leads to wriggling levers and pulling tape unevenly to get them right.
@david
Use this.I find it works best.
http://www.competitivecyclist.com/product-accessories/2011-tacx-dynamic-carbon-assembly-paste-3321.52.1.html
This article photo is a favorite image that I have seen of Frank. Love the work.
To make matters much worse for those that have had kidney stones, there is an 80%
chance that they will have another issue with kidney stones in their lifetime.
It usually takes from five to fifteen hours for a stone to be
dissolved using this home remedy for kidney stones.
As made you out of all the natural and herbal products, it helps in
improving the overall health of the person.